You can create various forecast transactions using Forecast Transaction Center page or by using File Upload (navigate to Reports >> File Upload).
1. Navigate to Cashflow Forecast.
2. Click Forecast Transaction Center. The Forecast Transaction Center page is displayed.
For more information related to the page settings, see Customizing summary information.
The Summary Information page displays summarized transactions across
various corporate accounts, based on the specified filter
criteria. The Refresh![]() icon refreshes the data
on the summary page.
icon refreshes the data
on the summary page.
Page Element |
Description |
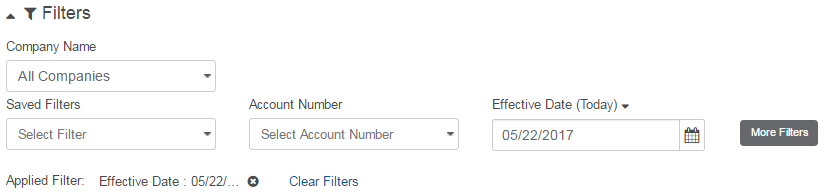
Filter by |
You can filter the transactions using company name, saved filters, account number, and effective date filters. You can also create custom filters, as required. For more information about creating a new filter, see Creating a new filter.
To see a sample image, Click here. To clear the pre-defined filter settings, click Clear Settings. |
Grouped By |
Forecast transactions are grouped by the selected forecast packages. |
Actions |
You can select a transaction and perform the required action. The available options are:
• Discard: Discard the latest action taken on the transaction. • Approve: Approve the transaction to authorize it. • Reject: Reject the transaction created by a maker.
|
Selection Box |
Select the check box and perform the required action on the forecast transaction. |
Select dropdown |
Enables you to perform following actions: • Modify Record: Modify the forecast transaction details. • View Record: View the forecast transaction details.
|
Pagination Bar |
Depending on the volume of data displayed in the list, the list can have one or more pages. You can navigate through the page by using the pagination bar. |
Export |
You can export the page data to the required format as XLS, CSV, TSV, and PDF.
|
Create Transaction |
Enables you to create single or recurring forecast transaction. |
View |
Click to see or set number of records on a single page. |
You can create a forecast transaction by performing the following steps:
![]() Specifying forecast
transaction details
Specifying forecast
transaction details
![]() Verifying
and submitting a forecast transaction
Verifying
and submitting a forecast transaction
![]() Approving a forecast transaction
Approving a forecast transaction
![]() Where
to go from here
Where
to go from here
| © 2017-19 Finastra International
Limited, or a member of the Finastra group of companies (“Finastra”).
All Rights Reserved.
Cat ID: FCM4.6-00-U02-1.5.3-201903 |